Browse Articles
Select a Product
null Support Directory
Browse all null articles. (Last Updated
No articles found.
Search Results
No articles found.
Storyline 360: Upgrade Project Text
Article Last Updated Jan 16, 2026
This article applies to:
Text autofit improvements offer three new options that provide greater control over how text displays when it overflows its bounding box. At the same time, these enhancements take advantage of the latest text-rendering technology to support multiple accessibility features, including accessible text and semantic formatting.
To use the autofit enhancements and make text more accessible, upgrade your project text, as described below.
Upgrade an Existing Project
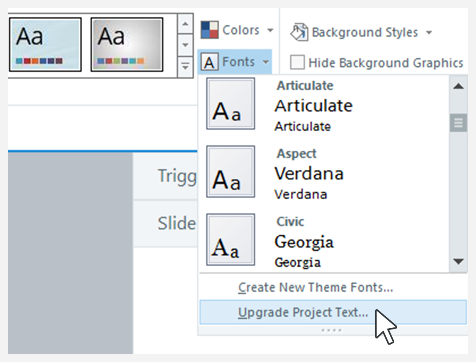
New projects use modern text and upgraded text by default. To enable text autofit improvements, go to the Design tab on the ribbon, click Fonts, and select Upgrade Project Text. Or, right-click any text element, choose Format Shape, click the Text Box tab, and select Upgrade Project Text. This upgrades all project text at once and saves a backup copy of the project file with the original settings.
Will Anything Be Different After Upgrading Project Text?
Your existing courses should behave as they did previously. In addition to the accessibility support, you may notice a few visual improvements and changes to text.
There are three new autofit property controls. Visit this user guide to learn more. Storyline 360 automatically upgrades text elements that use a legacy autofit setting to a suitable, new autofit setting. For example:
|
Legacy Setting |
New Setting |
|
Resize shape to fit text |
Expand width |
|
Shrink text on overflow |
Fixed size |
|
Do not autofit |
Fixed size |
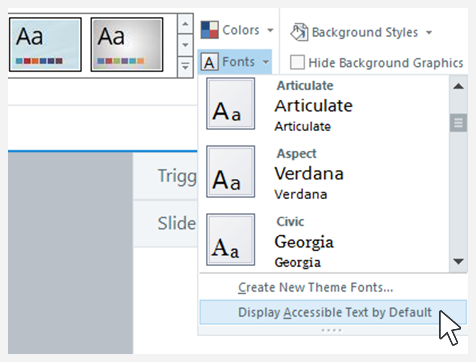
Accessible Text
You can also make accessible text the default. To do that, go to the Design tab on the ribbon, click Fonts, and select Display Accessible Text by Default, as shown below. This sets the Player.AccessibleText variable to True at the same time.